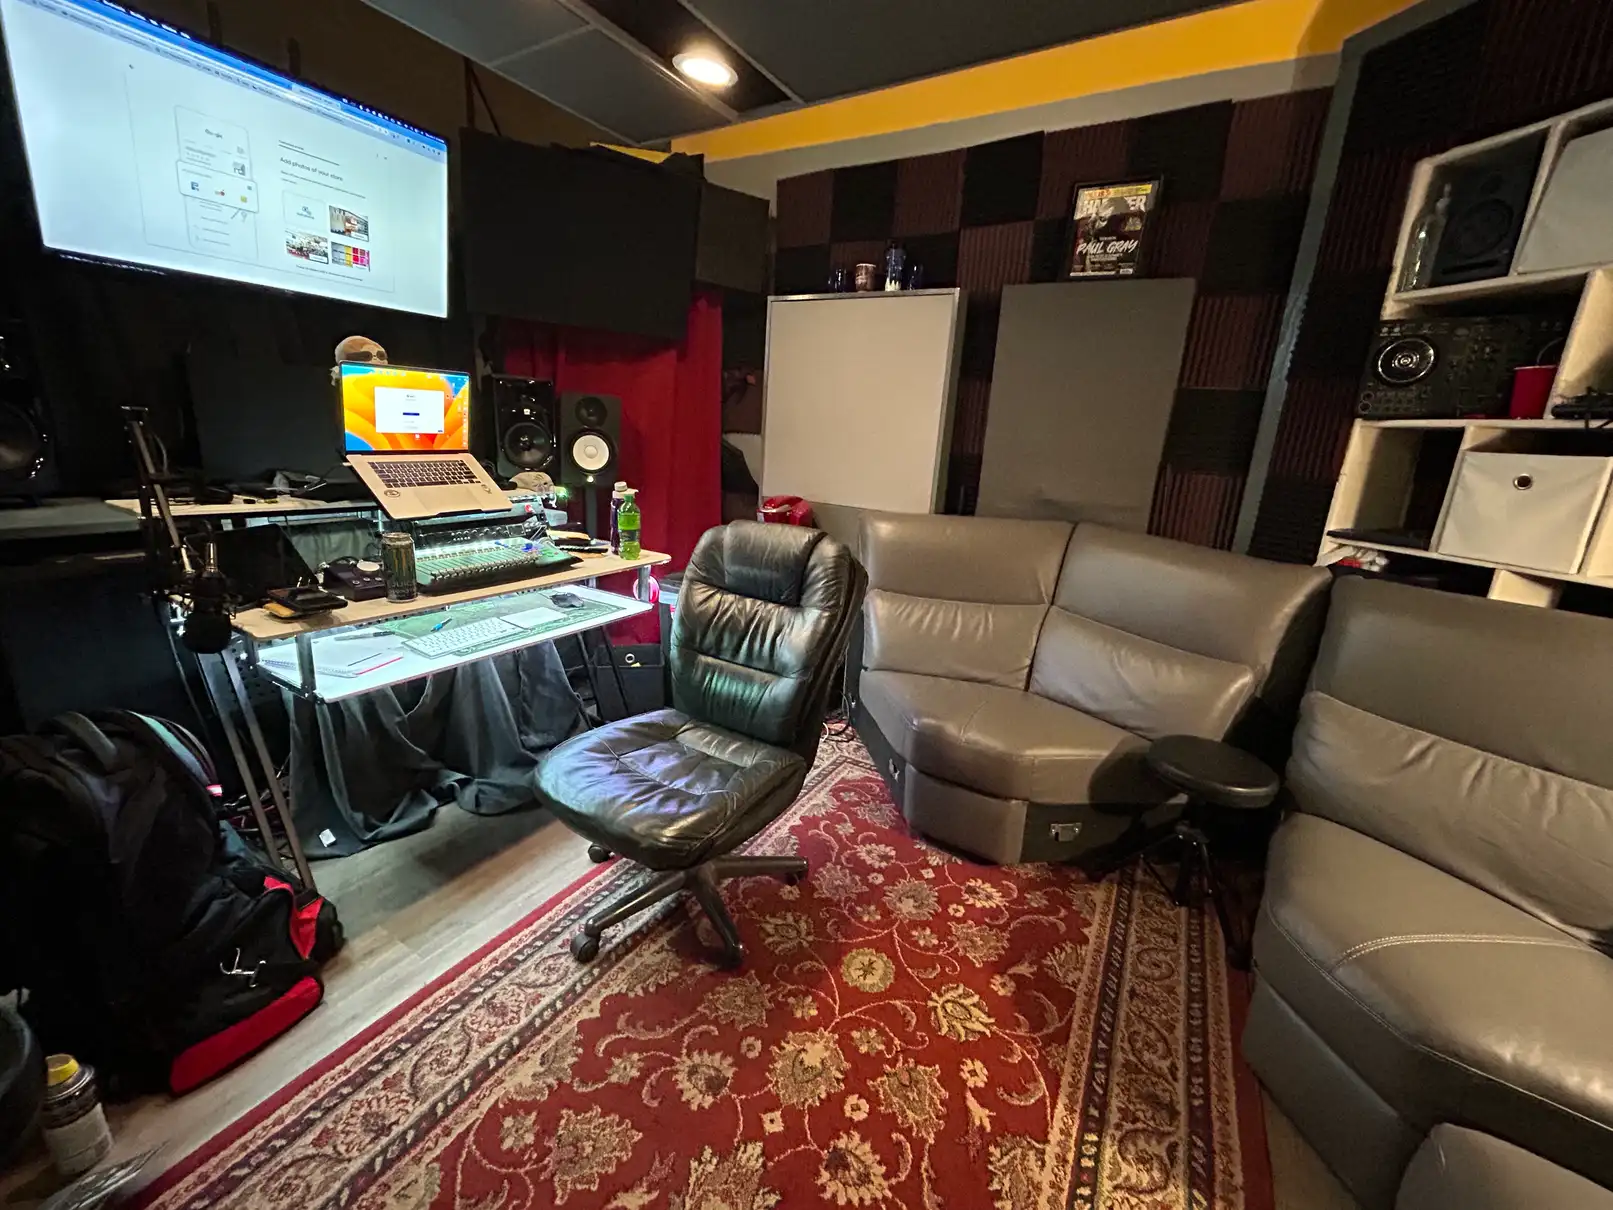
The Fields / Mixing
How to Mix Aggressive Rap Vocals Over a Two-Track Beat
There is a specific kind of rap vocal that is not supposed to sound polite.
If the song is aggressive, dark, grimy, violent, or built around underground energy, the vocal cannot feel like it got edited for a toothpaste commercial. Clean is not always better. Sometimes clean just means scared. And if you are mixing music that is supposed to make people uncomfortable, scared is the wrong direction.
At The Fields, a lot of what we make is built around two-track beats, loud vocals, heavy attitude, and mixes that need to hit hard without turning into mud. I am not going to hand you the full playbook here. I have a chain I keep for specific records that stays in-house and that is not changing. But I can walk you through how I approach this problem in a way that is actually useful, with real plugin names, real decisions, and no pretending a perfect multitrack session exists when most underground rap sessions are one beat file, a lead vocal, some doubles, ad-libs, and a dream with anger issues.
Two Workflows, One Studio
At The Fields we run two separate workflows depending on who the artist is. Outside clients get a clean, fast, reliable chain optimized for quick turnaround and consistency. FabFilter Pro-C 2 as the default compressor, Nectar 4 for quick vocal setup when it makes sense, Ozone 12 as the mastering starting point.
Internal catalog work gets something different: more color, more attitude, and more controlled filth. The God Particle and the Black Box HG-2 live on that mix bus. The UAD 1176 and LA-2A combination is part of that vocal sound specifically. Different sessions, same engineering standards, different intent.
The Real Problem With Two-Track Beats
When you have full stems you can move everything separately. When you only have a two-track beat, the kick, snare, bass, melodies, samples, and effects are already glued together into one file that is already finished, already limited, already fighting back.
The vocal has to be carved into that beat without destroying it. Most people get this wrong the same way every time: they keep boosting the vocal until it is technically loud enough but still does not feel connected. Then they compress harder, de-ess harder, brighten harder, limit harder, and eventually the whole thing sounds like a cheese grater having a panic attack.
The better move is to build space, control the ugly parts, and make the vocal feel aggressive on purpose instead of just loud by accident.
Start With The Beat
Before touching the vocal, put the beat into its own track or bus and actually listen to it. Not casually. Put your phone down and listen.
Two-track beats almost always have problem zones that get worse once your vocal and master chain start hitting them. For aggressive rap the zones I watch most closely are the low mids, roughly 150 to 600 Hz, where mud and boxiness build, and the 2 to 5 kHz range where harsh vocal bite and snare clash happen.
I run FabFilter Pro-Q on the beat bus first. Small moves. High-pass around 20 to 30 Hz, trim the mud pocket slightly, and if there is a piano or sample that gets ugly when the limiter hits, check around 400 to 600 Hz. You are not remixing the beat. You are making a pocket for the vocal.
From there I run Trackspacer on the beat bus with a sidechain from the vocal bus. It ducks the beat in the exact ranges the vocal is occupying in real time. You barely hear it working, but when you bypass it the vocal suddenly feels like it is fighting for space instead of sitting inside the mix.
Soothe2 on the Beat Bus
Run soothe2 on the beat bus. Every time.
With printed two-tracks, a static EQ cut is just a guess. Soothe2 reacts in real time, finds fatiguing frequencies, and handles them dynamically instead of you playing whack-a-mole with a bell curve. Keep settings reasonable. You are not trying to rewrite the producer. You are trying to keep the mix workable.
Record It Right Before You Try To Fix It
A bad vocal recording cannot be fully saved in the mix no matter what is on the insert chain.
For aggressive rap, track with energy but without clipping: peaks around -12 to -6 dB, consistent mic distance, pop filter used correctly. If the performance gets screamed, back the artist off the mic slightly. Distortion should be a choice, not an accident.
For breaths between bars, I usually ride gain manually rather than over-cleaning with heavy restoration. You can reduce the distraction without deleting the performance energy.
The Vocal Chain
General architecture on individual tracks before buses: Pro-Q into compressor into Pro-DS into optional saturation into FX sends.
First EQ stage is cleanup before compression. High-pass around 70 to 100 Hz depending on voice. Find mud around 200 to 350 Hz and trim lightly. Be precise around 400 to 600 Hz. One targeted cut beats a wide slash.
For aggressive sessions, 1176 first for control and attitude, then LA-2A for leveling and glue. For cleaner client work, Pro-C 2 often handles the compression role with easier revision consistency.
De-Essing Strategy
Light de-essing before compression, then a more informed pass after compression. If you go too hard before the compressor, you solve the wrong problem and miss the new one compression creates.
Saturation and Controlled Dirt
On aggressive rap, saturation is where “loud” becomes “dangerous.”
I prefer parallel saturation for control. Send to a bus, filter lows/highs before saturation, blend the return until the vocal gains density and grit without collapsing clarity. If muting the saturation bus makes the vocal feel smaller, it is working.
Bus Architecture
Lead stacks and ad-libs go to role buses first, then into the vocal bus. Keep each layer controlled before it hits the main vocal bus so the bus can shape identity instead of fighting chaos.
Time-based effects live on aux returns feeding a shared FX bus. That keeps total effect level controllable without touching every send.
Reverb and Delay
For this style, reverb is dangerous. Too much pushes vocals backward. If used, keep it short and filtered. For dense low end, high-pass the reverb return higher than you think, often 300 to 400 Hz, to prevent low-mid buildup.
Delay usually works better than reverb for aggression because it adds space without softness. Slap delays around 80 to 130 ms can keep vocals forward and dimensional.
The Mix Bus
The chain is a set of options, not a superstition checklist. Insight 2 for metering, Pro-Q for broad correction, SSL bus comp for glue when needed, harmonic stages, harshness control, clipping before limiting, then Ozone as final stage.
If a processor hurts punch, low-end movement, or intelligibility, it comes down or comes out. Target loudness depends on the song, but aggressive underground records often land louder than streaming normalization when that is what the record needs.
The Car Test
When the mix feels done, take it to the car. If the vocal stays clear at low volume and low end holds together, you are close. If 400 to 600 Hz gets ugly in the car, you will hear it fast.
The Final Point
Mixing aggressive rap over a two-track beat is not about making everything clean. It is about control: mud, harshness, sibilance, distortion, and pocket. Then let the attitude stay ugly where it needs to stay ugly.
The mistake is trying to polish the danger out of the song.
The job is to make it hit hard without falling apart.
KFR / The Fields